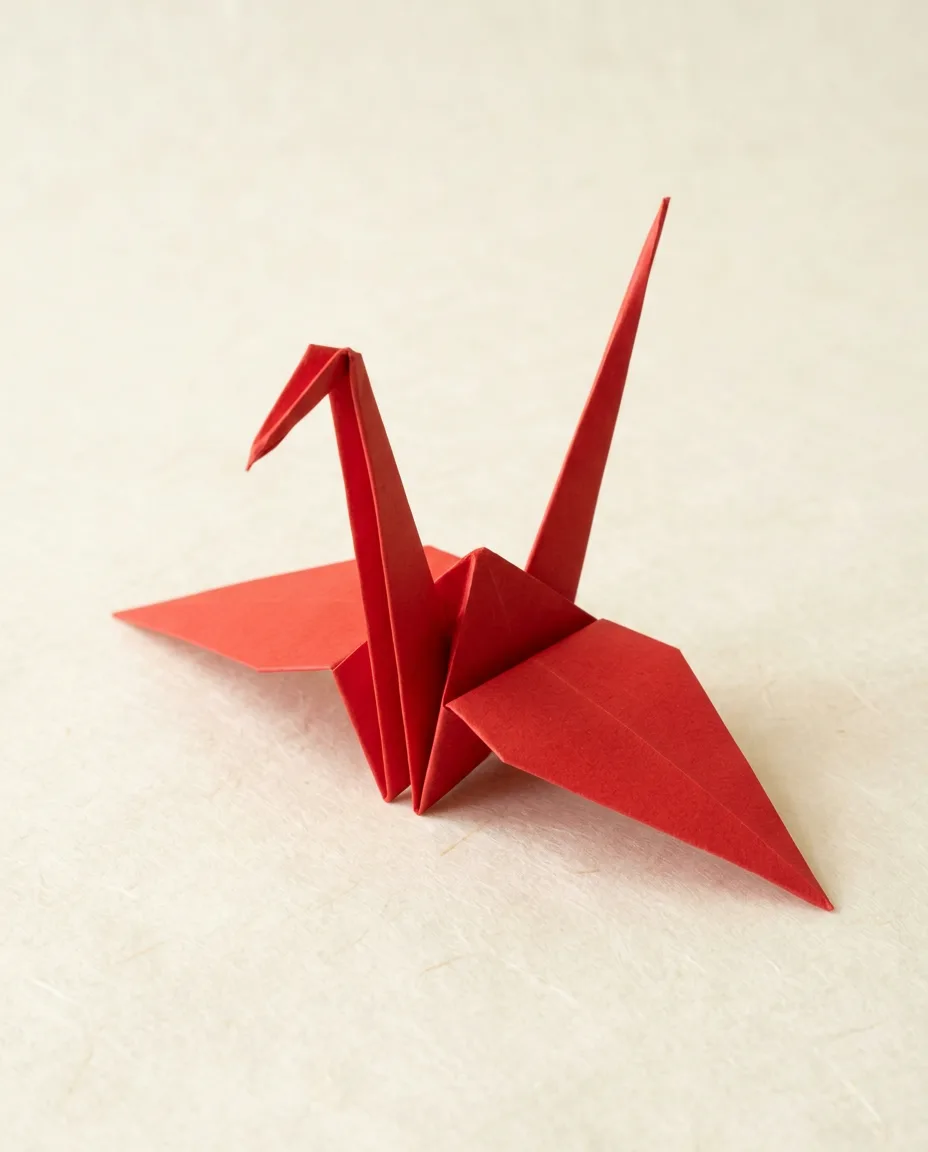
A kid at a kitchen table holds a red paper bird by the neck and tugs its tail. Up go the wings. Down they come. Every other kid at the table wants one after that.
That’s the flapping bird. It’s a traditional model. Nobody knows who folded it first, and it’s probably the moving toy you half-remember from school. Nineteen steps, one square. Not a first model, honestly. Two petal folds sit in the middle (a corner of one layer swings up and its sides close in behind). Reverse folds handle the neck and tail. Give your first one 15 minutes. It’ll come out a little lopsided. Fine.
Go thin. Thinner than you’d pick for a crane, even. Those wings only swing if the creases where they join the body stay springy, and heavy paper goes stiff once the petal folds stack layers in the middle. Printer paper? Fine for a practice run once you’ve cut it square. Just don’t expect it to flap for long.
Work on a hard table and make every crease with a fingernail or a bone folder. A sharp crease now saves a fight three steps later. Dashed lines are valley folds, dash-dot lines are mountain folds.
How to read the diagrams standard notation
- Valley fold 谷折り — fold toward you, so the crease sits at the bottom of a V.
- Mountain fold 山折り — fold away from you, so the crease becomes a ridge.
- Fold arrow — move the paper in the direction the arrow travels.
- Turn over — flip the whole model face down before the next step.
01Fold the square base
Steps 1 to 5 get you a square base: a small square with all four paper corners bunched at the bottom. Lots of guides collapse it in one go from pre-creased paper. Here it’s two triangle folds and two squashes instead (open a flap, press it flat into a new shape). Slower, sure. It’s also very hard to mess up.
Before moving on, check both faces. Fully colored? Good. All four loose corners down at the bottom point? Then you’re set. If one face shows white, that squash went the wrong way. Undo just that flap and try again, spreading it wider this time until the top edge sits on the center crease.
02Two petal folds make the bird base
Step 9 is where people quit. Usually one crease too early, too. The bottom corner of the top layer lifts all the way up, and both sides of that layer fold in on their own while it does. Sounds fiddly. Mostly it isn’t, provided the kite creases from steps 6 and 7 are sharp enough to guide it.
Lift slowly. Only the top layer moves; the rest stays pinned under your other hand. The sides will bulge out as the corner climbs (it looks wrong for a second, then it doesn’t). Top point starting to split? You’re going too fast. Nudge each side edge in to the center line with a fingertip. Then the diamond lies down.
The back side’s quicker. You’ve made every one of those creases once already, and your hands remember. When both are done you’re holding a bird base: a long, narrow diamond. There’s a big flap in front, another behind, and two skinny points at the bottom with a split between them. Big flaps become wings. Skinny points become the neck and tail.
03Reverse fold the neck and tail
Always pre-crease this one. Fold the left point up along the line in step 14 as a plain valley fold (it dips toward you), crease it hard, and open it back out. Now spread the layers of that point a little. Push it up between them along the crease you just made. Flatten. Anything poking out on the outside means it went the wrong way, so open it and have another go.
40 degrees off upright works for both points, like the drawings. Steeper, and they hide behind the wings. Too flat? The tail has nothing to pull against. Matching the two angles counts for more than getting either one neat.
Same trick for the head, just shorter, roughly a quarter of the neck. Kami handles it fine. Card won’t have it, because the tip splits. On thick paper, skip the head and leave a pointed neck.
04Lower the wings and test the flap
Getting the wings down takes seconds. Getting them to flap is down to everything you did before. The front one’s a plain fold. For the back wing it’s a mountain fold, peaking away from you. It tucks down behind the body.
Don’t press the wings flat after step 18. Crease them lightly and let them spring back up a bit. From the front they should make a shallow V. Hold the bird where the neck leaves the body, thumb on one side, finger on the other. Now tug the tail away from the neck and let go. Up, down. Again.
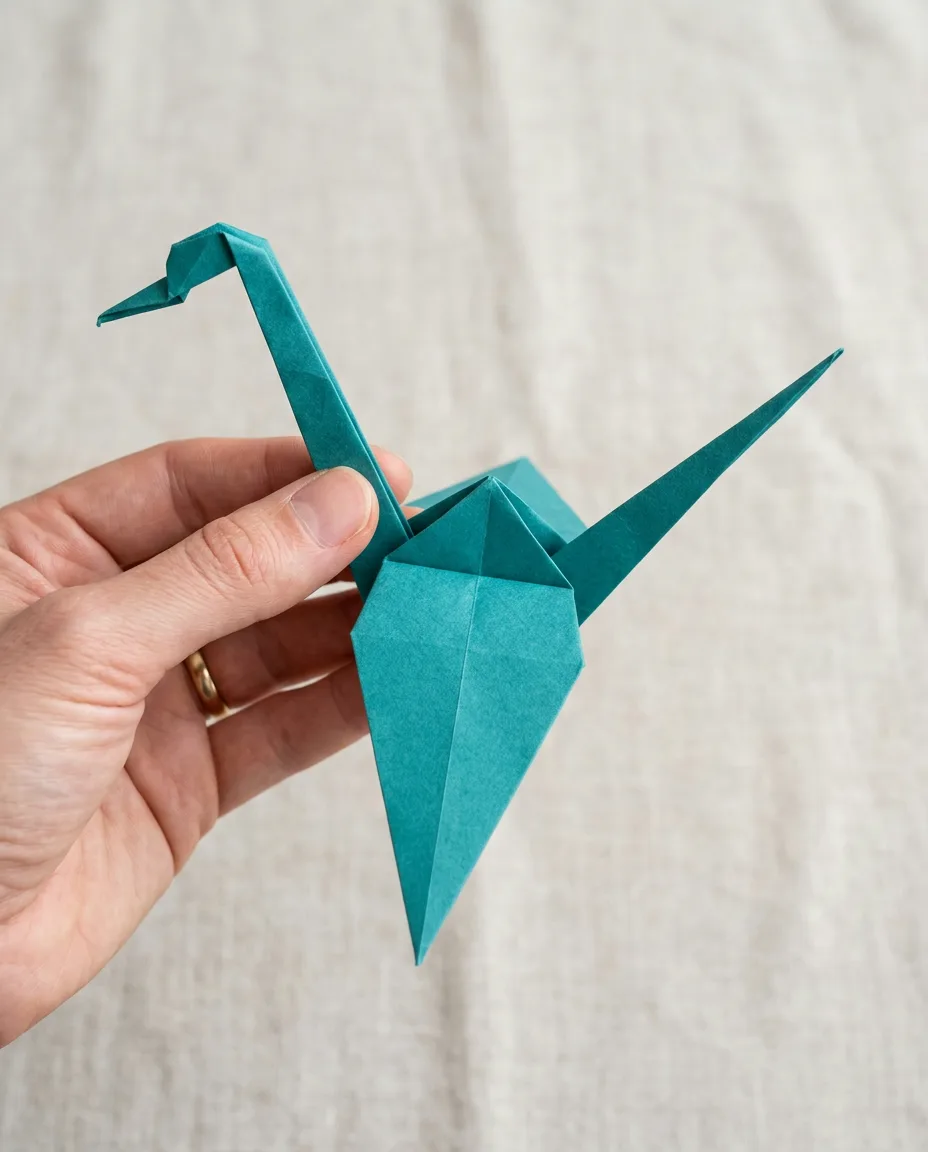 Save
SaveShort, quick tugs work. One long hard pull just creases the tail flat, and after that it won’t spring back.
And foil paper? Tempting, since it’s shiny and holds the wing angle well. But its petal creases crack after a few dozen flaps.
05Stiff wings and how to free them
Stiff wings are nearly always the grip or the body. Rarely the tail. Check these before you refold anything.
- Wings won’t budge? You’re holding too high. Slide down to where the neck meets the body.
- Body tearing at the sides. Too-thick paper; use kami next time.
- One wing moving, one not. The lazy one’s creased flat against the body. Lift it.
- Tail flopping sideways. Pinch the reverse fold flat along its crease.
Size changes how it feels in your hand. A 7.5 cm square gives you a stiff, fiddly little bird with hardly any paper at each crease. At 25 cm it flaps more freely, though thin paper that big lets the wings sag. Start at 15. Size up once the petal folds stop feeling like a wrestling match.