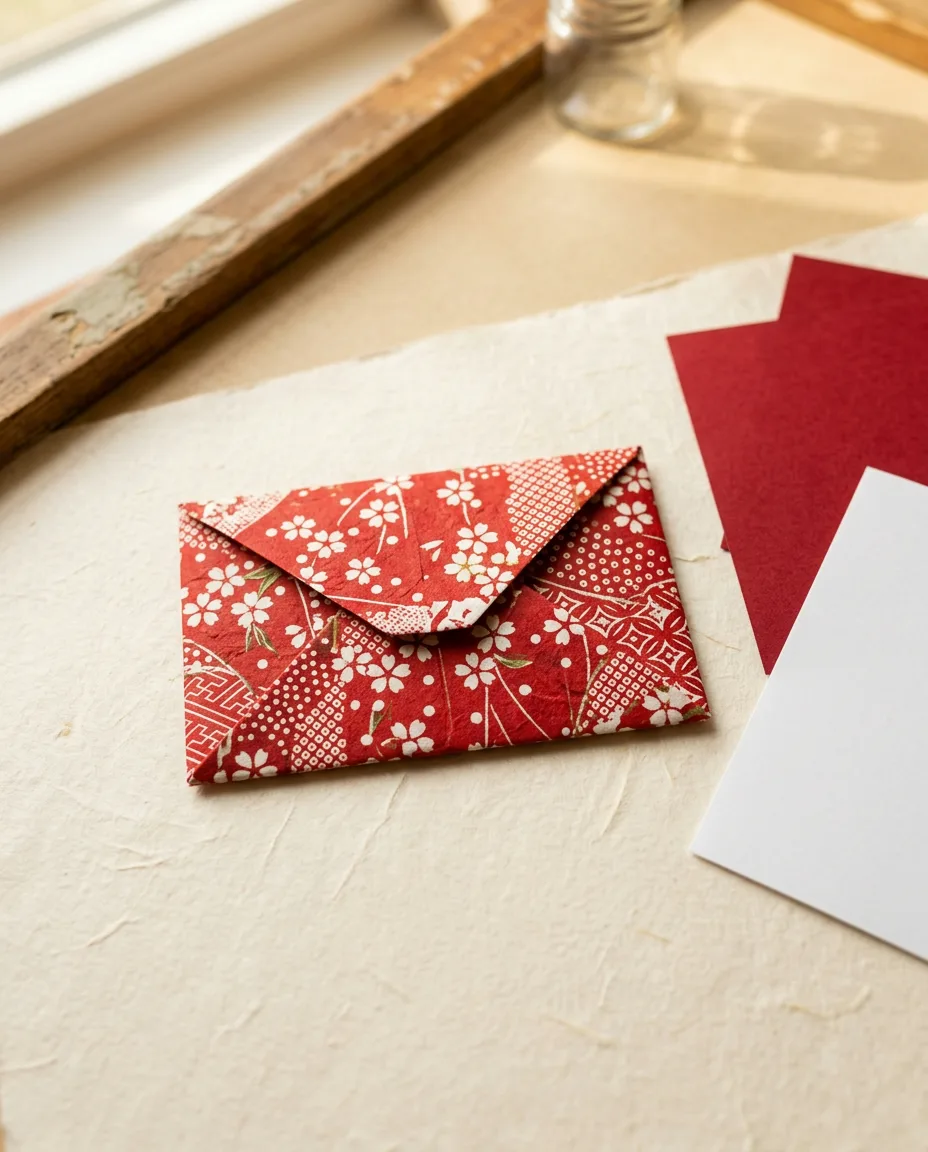
Six folds turn a square into an envelope that locks itself shut — no glue, no tape, and it opens again without tearing. It fits a folded note, a gift card standing diagonally, or a pressed flower. Fold it from patterned chiyogami and the envelope outdresses most store-bought cards.
Work on a hard table and make every crease with a fingernail or a bone folder. A sharp crease now saves a fight three steps later. Dashed lines are valley folds, dash-dot lines are mountain folds.
How to read the diagrams standard notation
- Valley fold 谷折り — fold toward you, so the crease sits at the bottom of a V.
- Mountain fold 山折り — fold away from you, so the crease becomes a ridge.
- Fold arrow — move the paper in the direction the arrow travels.
- Turn over — flip the whole model face down before the next step.
01Fold the pocket
That front flap folded down in step two is the pocket your note will sit behind. Everything else is walls.
02Close the sides
The side folds land about a third of the way across, not at the middle. They set the envelope’s width — fold them deeper for a slimmer envelope, shallower for a wider one. Just keep left and right the same.
03Lock it shut
Put your note in before the last tuck. The closing point slides under the front edge from step two, and the paper’s own tension holds it — the same lock a fortune teller uses, working quietly.
04Make it a gift
For money gifts, fold the envelope from a 20 cm square so a folded bill slides in flat. A wax seal or a small sticker on the tuck dresses it up for weddings. And if the gift is the paper — fold the envelope from a map of somewhere you both went.